AY Honors/Airplane Modeling/Answer Key
1. Build and successfully fly an airplane from a kit made of balsa wood and tissue paper, and rubber band or gas powered.
Do It Yourself "Penny Glider" plans.
Do to an ordering mixup with our glider kit supplier, our club was forced to get creative to meet the glider requirement in this Airplane Modeling honor. The end result was that I designed a glider that could be made from stock pieces of balsa. The glider flew well for the students that made them, and the plans made for very cost effective kits. I found the most efficient way to use balsa sheets is to make 12 glider kits. I am publishing the plans here in the hope that other youth groups can make good use of them.
Stock pieces required.
One set of the following pieces will create twelve glider kits.
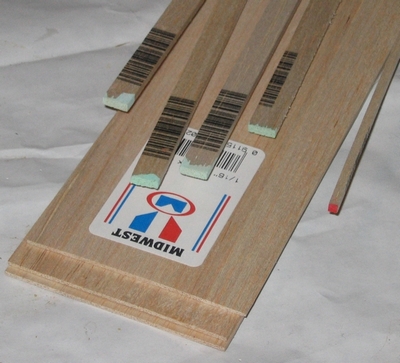
- (3) 3" X 36" X 1/16" sheet
- (4) 1/8" X 3/8" X 36"
- (1) 1/8" X 1/8" X 36"
Other required supplies.
Wood glue / Hobby knifes
Ruler (Metal is best)
Water based sanding sealer - (I used Varathane Crystal Clear Waterborne thinned 50% with water)
150 grit sandpaper
Pencil / Hobby paint brushes
12 Pennies
Hot glue gun and glue
One copy of plan page printed for each student.
Make the kits in advance
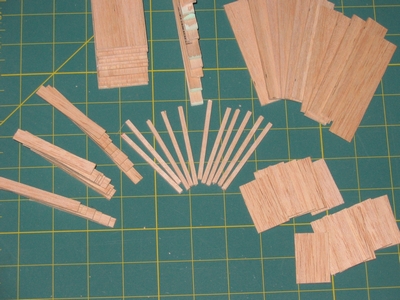
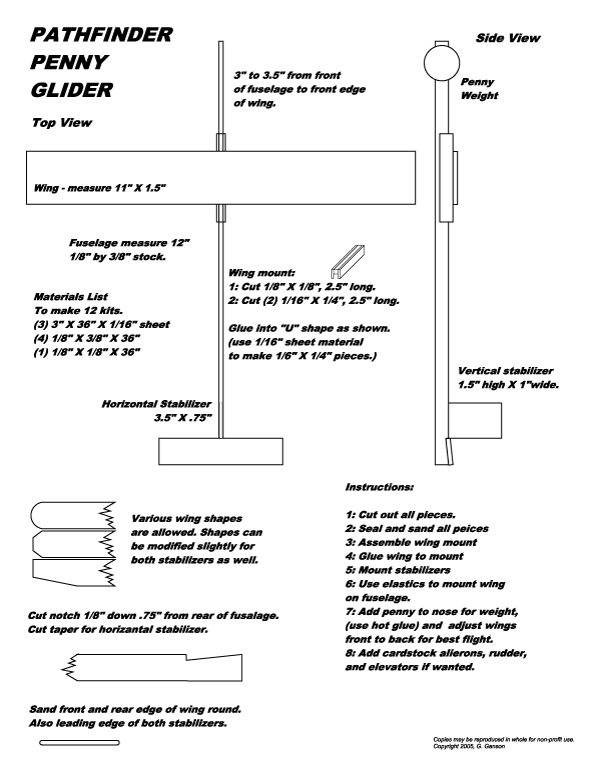
Cut the pieces from the stock to the sizes shown in the plan. Use a hobby knife and steel ruler.
Fuselage - Cut the ⅛” x ⅜” stock into 12” long sections to make 12 fuselages.
Wings - Cut 6 pieces 11” x 1½” from 2 of the 1/16” sheets to make 12 wings.
Wing Mounts - Cut ⅛” x ⅛” stock into 12 - 2½ ” sections.
Wing Mounts – Cut 24 - ¼” x 2½ ” parts for wing mounts from 1/16" sheet balsa.
Horizontal Stabilizer – Cut 12 - 3½” x 3/4” peritoneal stabilizers from 1/16" sheet balsa.
Vertical Stabilizer - Cut 12 - 1½” x 1” vertical stabilizers from 1/16" sheet balsa.
(ensure grain runs the long direction on all 1/16" sheet balsa pieces)
Optionally cut the tapered notches in the fuselage for the horizontal stabilizer, or leave this step for the students depending on level of students ability with hobby knifes.
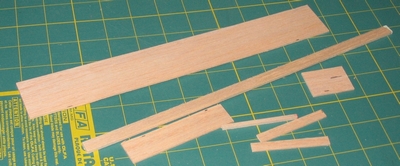
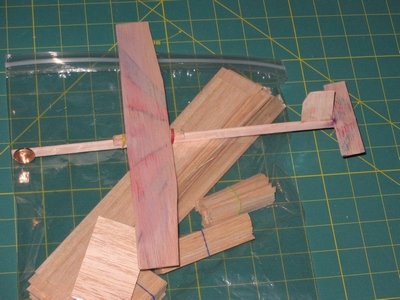
Each kit will contain one wing, one fuselage, one horizontal stabilizer, one vertical stabilizer, and the wing mounting pieces. One single kit is pictured below.
Have the students follow steps 1 through 8 to build the kits.
Instructions:
- Cut out all pieces.
- Seal and sand all peices
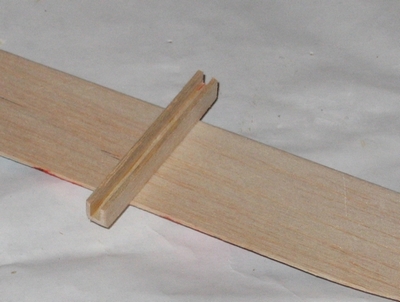
- Assemble wing mount
- Glue wing to mount
- Mount stabilizers
- Use elastics to mount wing on fuselage
- Add penny to nose for weight, (use hot glue) and adjust wings front to back for best flight.
- Add cardstock alierons, rudder, and elevators if wanted.
The following pictures are provided for reference.
Wing and wing mount:
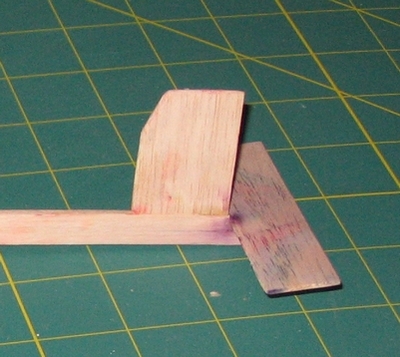
Stabilizers glued to fuselage:
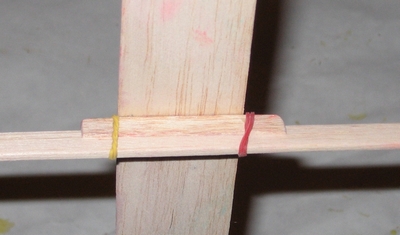
Wing mounting with elastic bands:
Finished Glider:
Plan Page.
3. Make and successfully fly two different styles of airplanes using sheets of paper between eight (20.3 cm) and fourteen (35.6 cm) inches in width and length.
4. Define, locate, and explain the usage of the following basic items:
- Fuselage
- Wing
- Aileron
- Rudder
- Horizontal stabilizer
- Strut
- Cockpit
- Engine
- Landing gear
- Propeller
