AY Honors/Macramé/Answer Key
1
Macramé, the modern art of decorating with knots, is believed to have originated with 13th-century Arab weavers. These artisans knotted the excess thread and yarn along the edges of hand-loomed fabrics into decorative fringes on bath towels, shawls, and veils. The word macramé is derived from the Arabic migramah (مقرمة), believed to mean "striped towel", "ornamental fringe" or "embroidered veil." After the Moorish conquest, the art was taken to Spain, and then spread through Europe. It was first introduced into England by Kathleen Koons at the court of Queen Mary, the wife of William of Orange, in the late 17th century.
Sailors made macramé objects at sea, and sold and bartered them when they landed, thus spreading the art to places like China and the New World. Macramé remained a popular pastime with 19th- century British and American seamen, who called it square knotting after the knot they most preferred in making hammocks, bell fringes, and belts.
Macramé reached its zenith in the Victorian era. Sylvia's Book of Macramé Lace, a favorite at that time, urged its readers "to work rich trimmings for black and coloured costumes, both for home wear, garden parties, seaside ramblings, and balls- fairylike adornments for household and underlinens ..." Few Victorian homes went unadorned.
While the craze for macramé waned in later years, it is now popular again, for making wall hangings, articles of clothing, bedspreads, small jean shorts, tablecloths, draperies, plant hangers and other furnishings.
2
Cotton seine twine is recommended for the beginner because with this material, the patterns are easier to see and the knots are easy to tighten.
3
Common materials used in macramé include cotton twine, hemp, leather or yarn.
- Cotton twine
- Soft, flexible, easy to obtain, cheap
- Hemp
- Very strong, easily acquired, natural look
- Leather
- Strong, stiff, doesn't fray
- Yarn
- Various colors, cheap, flexible
4
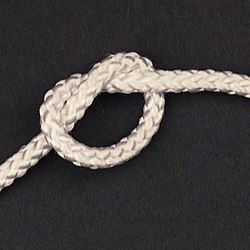
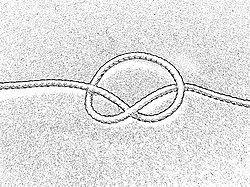
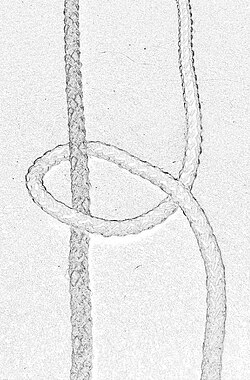
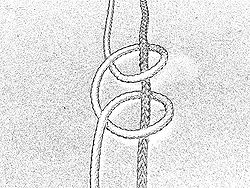
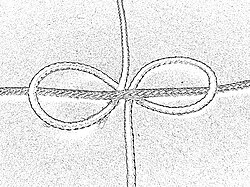
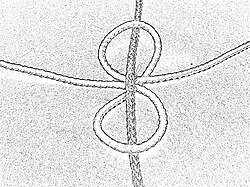
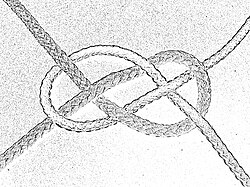
Overhand Knots
| Tying the Overhand Knot |
|---|
|
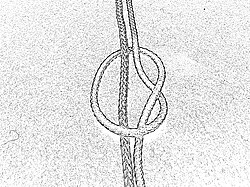
Use: one of the most fundamental knots and forms the basis of many others including the simple noose, overhand loop, angler's loop, reef knot, fisherman's knot and water knot. The overhand knot is very secure, and can jam badly, so only use if you want a permanent knot. It is often used to prevent the end of a rope or string from unraveling.
|
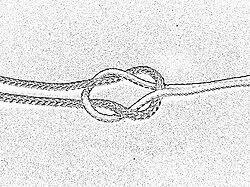
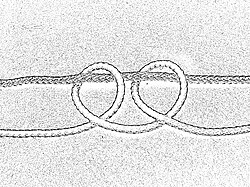
Square Knots
| Square Knot |
|---|
|
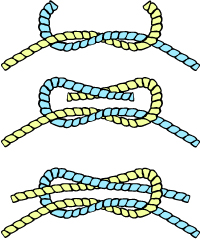
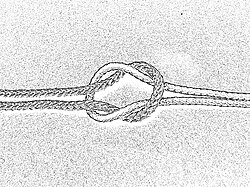
Use: Also known as a Reef knot, the Square Knot is easily learned and useful for many situations. It is most commonly used to tie two lines together at the ends. This knot is used at sea in reefing and furling sails. It is used in first aid to tie off a bandage or a sling because the knot lies flat.
How to tie:
WARNING: Do not rely on this knot to hold weight in a life or death situation. It has been known to fail.
|
Half Hitches
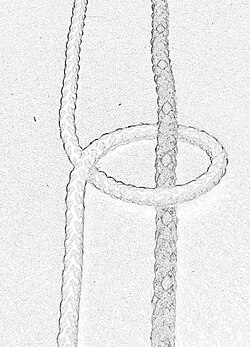
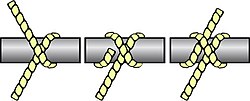
Clove Hitches
| Clove hitch |
|---|
|
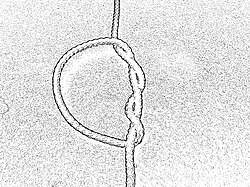
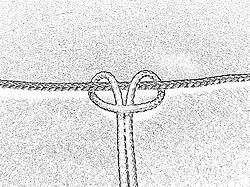
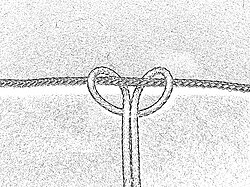
Use: This knot is the "general utility" hitch for when you need a quick, simple method of fastening a rope around a post, spar or stake (like tying wicks to sticks in Candle Making) or another rope (as in Macramé)
How to tie:
|
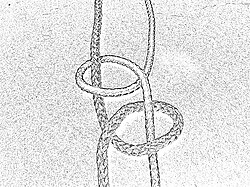
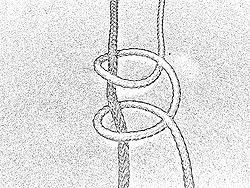
| Constrictor Knot |
|---|
|
Use: The Constrictor knot is one of the most effective binding knots. Simple and secure, it is a harsh knot which can be difficult or impossible to untie once tightened. It is made similarly to a clove hitch but with one end passed under the other, forming an overhand knot under a riding turn. Because this knot will not slip when tied around a stick, it is an excellent knot for making a rope ladder.
How to tie:
WARNING: The Constrictor knot's severe bite, which makes it so effective, can damage or disfigure items it is tied around.
|
Lark's Heads
Single Hitches
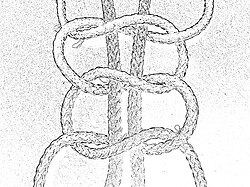
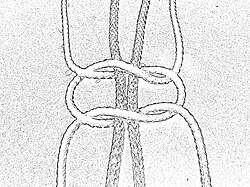
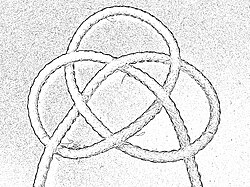
Macramé Knots
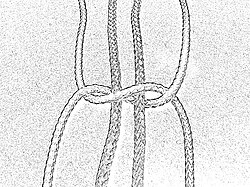
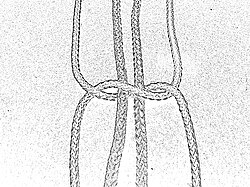
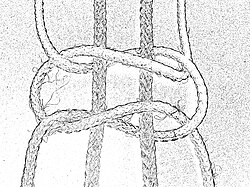
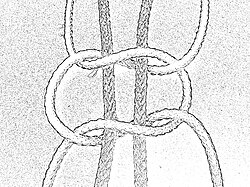
Josephine Knots
5
Overhand knots can be used to tie two cords together at the bottom of a piece, to fasten a cord to a bead or pearl, or to serve as a decorative knot in the pattern.
6
The length of cord needed for a finished product is directly dependent on the types of knots used. It also depends on how much knotting is done on a given cord. Anchor cords will have fewer (if any) knots compared to working cords. A general rule of thumb is to allow yourself five times more cord than the length of the product. A better guideline is to experiment. Tie a short section (at least a couple of inches (10 cm) long). Measure it, and then untie it and measure the amount of cord used. If 2 inches of your sample required 12 inches of cord, you will need six times as much cord.
7
You will want to search the internet or check books for patterns. Have fun on the practical part of the Honor.
8
See knots above. Have fun creating.
